Step-Chart Activities
 When I provided children with at least one step-chart activity per week it blew me away how much it changed the culture of the classroom and fostered interdependence — boys working with girls and everyone working with others who were not their best friends. Step-chart activities follow a set sequence: (1) demonstrate, (2) freely do or not do, (3) represent. In large group time the leader demonstrates step by step how to make something she thinks all of the children might like to make for themselves — within their ZPD — and simply sets the materials out in free play for the children to use as they wish without help from adults; other children become the go-to resources. Later, the leader reviews the sequence in a reflective large group time, or if the children are capable, the children represent the sequence in oral descriptions, drawings, or photos to guide other children and share the sequences with the community.
It is important that the leader demonstrate each step clearly referring to the step-chart by page number as the children simply watch and discuss. Each action is referred back to the image, so the image begins to make sense. (At this demonstration the children have no materials at all.) The images do not convey what to do, they represent what they have seen done. The images make sense only after the children have made the product and the images are reviewed at a later time. I also happily demonstrate mistakes and fix them.
- demonstrate (group time)
- do (free time)
- review (group time)
The review is the education. Taking the time the next day or week to go over the sequence of steps in the chart and discuss the problems encountered is time well spent. The processing ensures that the experience of risks and mistakes has long term benefits. The reflection is a lesson in how to learn how to learn, like teaching a hungry man how to fish, so they no longer are dependent on other’s gifts.
Each completed step-chart I offer has a link to the pdf. The best way I have found is to have one step on one copy paper sized page with a large number for the step on the upper left. I tape them together in a way that enables an accordion fold to fit in a file folder. That way I never have to make that Step-chart again and others can borrow it.
The best way to tape them, I have found, is to lay the pages face down in reverse order, from right to left, then put small pieces of tape on the back to connect them, and then turn the banner over for final taping. MUCH fewer mistakes.
Last thought: I’d like you to note that none of these is a cutesy, cheesy, teacher-made, piece of busy-work. I choose to make step-charts that develop skillfulness in the use of tools or manipulation of the hand. Usually the activity makes something useful to the children in a way they can invent for themselves.
Booklet Binding
A step chart for adults I made for my Project Approach class. It works for children age five and up.
Skill practice: scissors, scoring, folding, tucking, gluing.
Helicopter
A helicopter master has to be cut apart into four separate helicopters. Children cut on the dotted line and STOP at the dot. Stop at the dot. Stop at the dot. Stop at the dot.
Skill practice: precise cutting, folding, and attaching a paper clip.
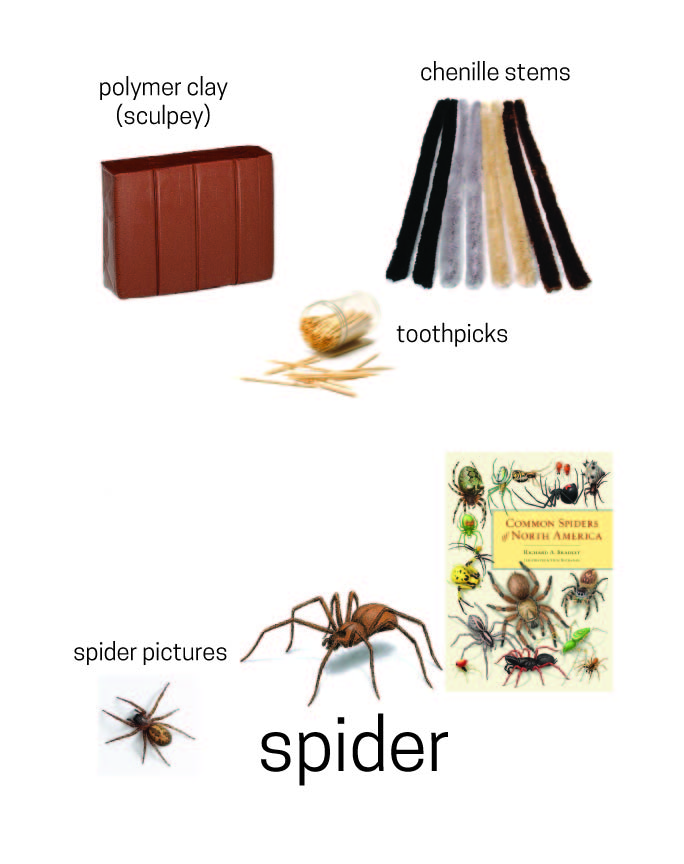
Spider
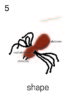 Polymer clay (Sculpey III) and long chenille sticks of good spidery colors. Having photographs or scientific drawings of spiders enable the children to attend to the reality of a spider and see different spiders and never copy some adult’s cutesy cartoon. Spider pdf
Skill practice: rolling, bending, using sculpting tools.
Ghost or てるてる坊主
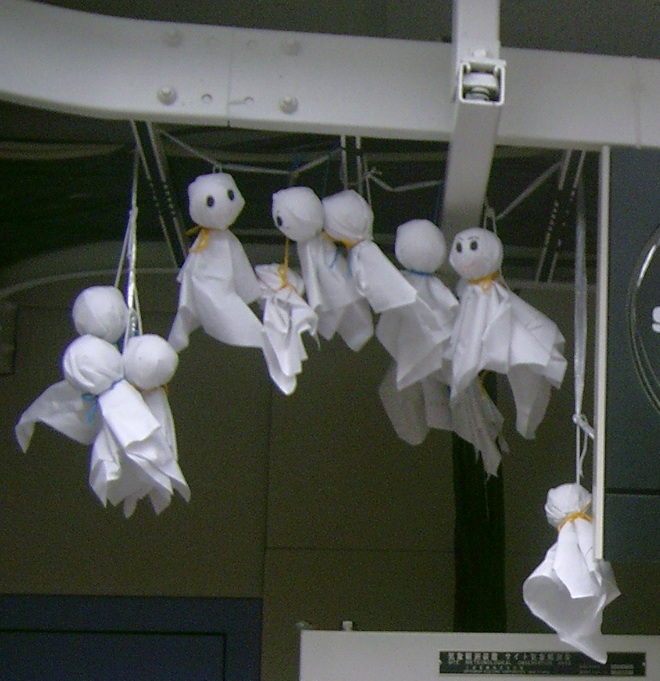 Teru teru bōzu is an amulet or doll from Japan, the same as a Western ghost, which is a humorous bald-headed appeal to the gods for sunny weather. Especially interesting when experiencing continuous rain for a few days. Not illustrated here. Drawing hands is hard.
Skill practice: attaching a rubber band around something one is holding
Foldovers
Not illustrated here. The steps are to fold a paper in half, open it back up, place drops of paint with an eyedropper anywhere you want, and press the paper together to spread the paint inside. I like using dark paper and white tempera paint. At a future time, say a month later, repeat the activity with two colors of paint. This step-chart is easy to make. Simply cut a set of smaller papers to attach to the copy paper. Do each step and glue it to a separate paper. Tape them together to make an accordion-folded document that can be put in a file folder for every year thereafter.
Skill practice: Using an eyedropper and folding a paper in half.
Wrapping a Box
Gifts came up one day in discussion, so I created an activity for wrapping classroom tissue boxes that were in storage. Those boxes were all the same size, which made it a better activity. I cut the paper to the exact size for wrapping: the length being the circumference of the box plus an overlap. The width being the length of a box plus 1 – 1/2 times the depth of the box. I loved this activity, because it took off from an existing interest and generated more cooperation than any step-chart I ever used.
Skill practice: Using a tape dispenser, wrapping, folding the ends neatly.
Cleaning Clay Tables
I have a system for offering earthen clay to children that I developed because clay is one of the basic materials of young children; it has been that way from the beginning of time. I don’t have it illustrated for you, unfortunately, but you can make it.
The classroom has a small garbage-type can with tight lid for storing the clay in orange size balls with a few wet paper towels to keep it moist. I put a couple of balls out on the table covered by a damp paper towel and without any mat or workspace. The children use the clay on the table and have the damp towel as the only moisture provided. Incoming children get their own supplies from the can. Also present are dry-wall taping knives.
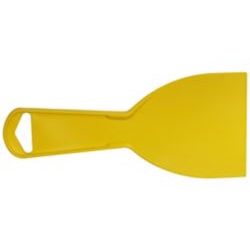
At cleanup or when a child leaves, they do the steps, figuring it all out themselves: making a ball of the clay, returning it to the can, placing a container under the edge of the table and scraping the residue into the can, wiping down the table with a wet paper towel until clean. It may take several damp paper towels which I offer in a container. I have learned that my job is to ensure the workability of clay and manage the water resources and the sink when indoors. Clay water is not for plumbing systems: clay water gets dumped outdoors.
Skill practice: using a drywall knife to scrape off clay remains, wiping with wet paper towels
Mask
Scissors, tape dispenser, hole punch
Pretzels
Rolling, attaching file folder label to toothpick
Pressing Leaves
Alternating layers of cardboard (a standard size), paper towel, items to press dry, paper towel, second cardboard, stacking on a community pile to figure how to weigh it down later at group time.